

Last updated: May 22, 2026
I spent 6 hours last week manually answering the same customer questions over and over. Sound familiar? You get an email asking about pricing, another about features, then someone wants a demo. By the time I finished responding, my actual work was pushed to evening hours.

Photo by Alvaro Reyes via Unsplash
That’s when I decided to build my first AI agent. Not some fancy enterprise solution, but a simple automation that could handle 80% of my repetitive tasks. After testing dozens of tools, I found Make.com to be the most beginner-friendly platform for building AI agents without writing a single line of code.
In this guide, I’ll walk you through building your first AI agent step by step. You’ll create a system that automatically responds to emails, categorizes them by urgency, and even schedules follow-ups. By the end, you’ll have a working agent and the knowledge to build more complex automations.
What Exactly Is an AI Agent
Think of an AI agent as your digital assistant that never sleeps. Unlike a simple chatbot that follows pre-written scripts, an AI agent can think, make decisions, and take actions based on what it sees.
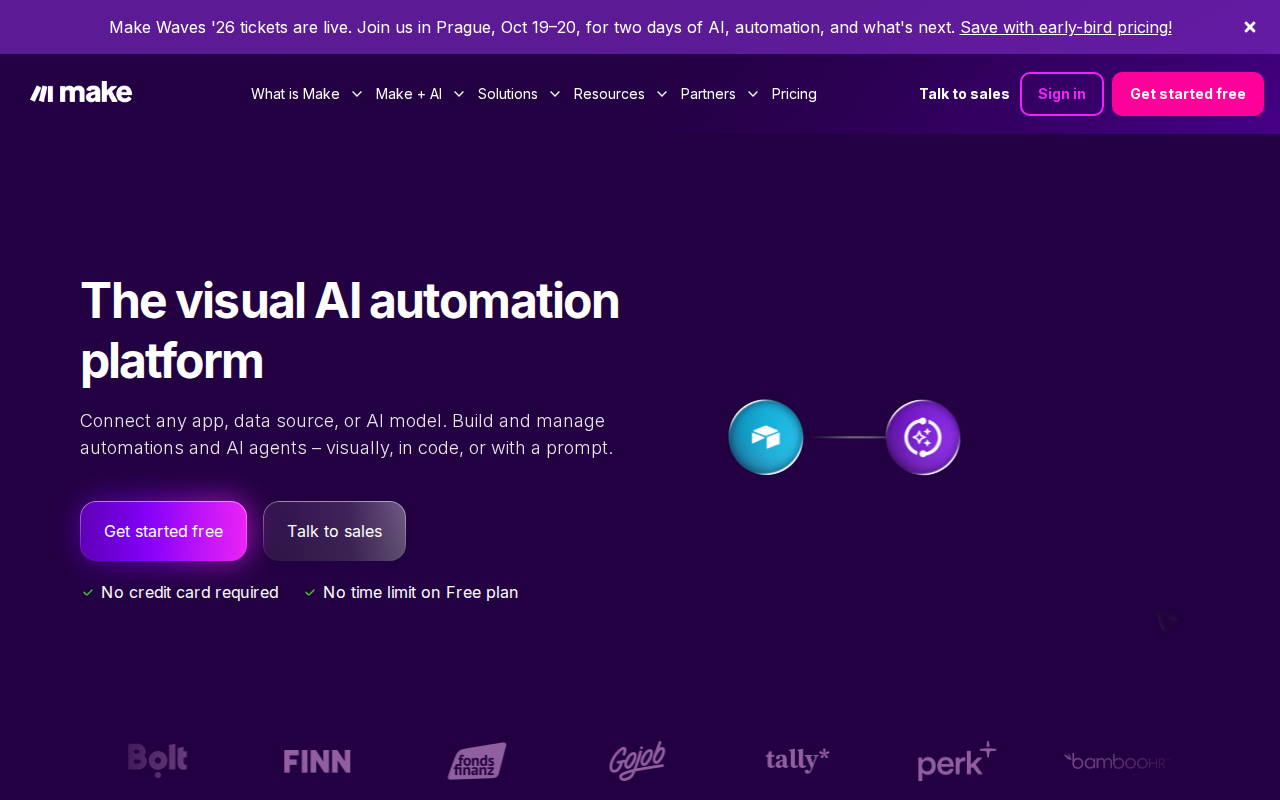
📸 Make.com — Homepage
Here’s the difference: A chatbot might say “Thanks for contacting us, someone will respond within 24 hours.” An AI agent reads your email, understands it’s about pricing for the premium plan, checks if you’re an existing customer, pulls the right pricing information, and sends a personalized response within minutes.
The key components of any AI agent are:
– Input processing: It receives information (emails, messages, form submissions)
– Decision making: It analyzes that information using AI
– Action taking: It performs tasks based on its analysis (send emails, update databases, create tasks)
Make.com handles all the technical complexity behind this process. You just drag, drop, and connect different services together.
Why I Chose Make.com for Beginners
After testing Zapier, n8n, and several other automation platforms, Make.com won for three reasons.
First, the visual interface makes sense. You see your automation flow like a flowchart. Email comes in, goes to the AI analyzer, then splits into different paths based on the response. No mysterious black boxes.
Second, Make.com has built-in AI modules. You don’t need to figure out OpenAI APIs or worry about authentication tokens. The AI tools are already integrated and ready to use.
Third, the free plan gives you 1,000 operations per month. That’s enough to handle hundreds of emails or messages while you’re learning. I tested my agent for three weeks before hitting any limits.
The learning curve is gentle. I had my first automation running within an hour of signing up, and I’m definitely not a technical person.
Setting Up Your Make.com Account
Head to make.com and click the “Try for Free” button in the top right corner. You’ll need to provide an email address and create a password. No credit card required for the free tier.
Once you’re in, you’ll see the main dashboard. It looks like a blank canvas with a plus button in the center. This is where you’ll build your first scenario. In Make.com, each automation is called a “scenario.”
Click “Create a new scenario” to get started. You’ll see a library of apps and services you can connect. The search bar at the top helps you find specific tools quickly.
For our first AI agent, we’ll connect three services: Gmail (to receive emails), OpenAI (to analyze and respond), and Gmail again (to send replies). Don’t worry if you don’t use Gmail – Make.com works with Outlook, Yahoo, and most other email providers.
Building Your Email Response AI Agent
Let’s build an AI agent that automatically handles customer inquiries. This agent will read incoming emails, categorize them by type and urgency, generate appropriate responses, and send replies.
Start by clicking the plus button in the center of your scenario canvas. Search for “Gmail” and select “Watch emails.” This module will monitor your inbox for new messages.
Click on the Gmail module to configure it. Make.com will ask you to connect your Gmail account. Click “Add” next to the Connection field, then “Continue with Google.” Grant the necessary permissions when prompted.
Now configure the email watching settings:
– Folder: Choose “INBOX”
– Criteria: Select “Unread emails only”
– Maximum number of results: Set to 1 (processes one email at a time)
Save these settings. Your first module is ready.
Next, add an OpenAI module. Click the plus button to the right of your Gmail module, search for “OpenAI,” and select “Create a chat completion.”
Connect your OpenAI account the same way you did with Gmail. If you don’t have an OpenAI account, sign up at platform.openai.com and add a payment method. The API costs are minimal – usually under $5 per month for moderate usage.
Configure the OpenAI module with these settings:
– Model: Choose “gpt-3.5-turbo” (it’s faster and cheaper than GPT-4 for this task)
– Messages: This is where you’ll write the AI’s instructions
In the Messages field, create a system message that tells the AI how to behave. Here’s the exact text I use:
{
  "role": "system",
  "content": "You are a helpful customer service AI. Analyze the incoming email and categorize it as: URGENT (complaints, refund requests, technical issues), SALES (pricing questions, feature inquiries), or GENERAL (everything else). Then write a professional, helpful response. Keep responses under 100 words and always include a human follow-up option."
}
Add a second message with the user role:
– Role: User
– Content: Click in this field and select the email content from your Gmail module using the mapping panel
The mapping panel shows available data from previous modules. You’ll see options like “Subject,” “Body (Plain Text),” and “From (Email).” Select “Body (Plain Text)” to send the email content to OpenAI.
Connecting the Response System
Now we need the AI to actually send replies. Add another Gmail module by clicking the plus button after OpenAI. This time, select “Send an email.”
Configure the email sending module:
– To: Map this to the original sender’s email address from the first Gmail module
– Subject: Create a subject line like “Re: ” + the original subject (use mapping to pull the original subject)
– Content: Map this to the AI response from the OpenAI module
Here’s where Make.com’s visual interface shines. You can see the data flowing from Gmail → OpenAI → Gmail, just like following a recipe.
Before we test, add one more module for organization. Insert a “Set variable” module between OpenAI and the reply Gmail module. This will capture the AI’s category decision for future use.
Click the plus button between OpenAI and Gmail, search for “Tools,” and select “Set variable.” Configure it like this:
– Variable name: email_category
– Variable value: Ask the AI to start responses with the category in brackets, like [URGENT] or [SALES]
Now your AI agent has a clear workflow: receive email → analyze with AI → categorize → send response.
Testing and Troubleshooting Your Agent
Time to test your creation. Click the “Run once” button at the bottom of the screen. Make.com will process one email from your inbox and show you exactly what happens at each step.
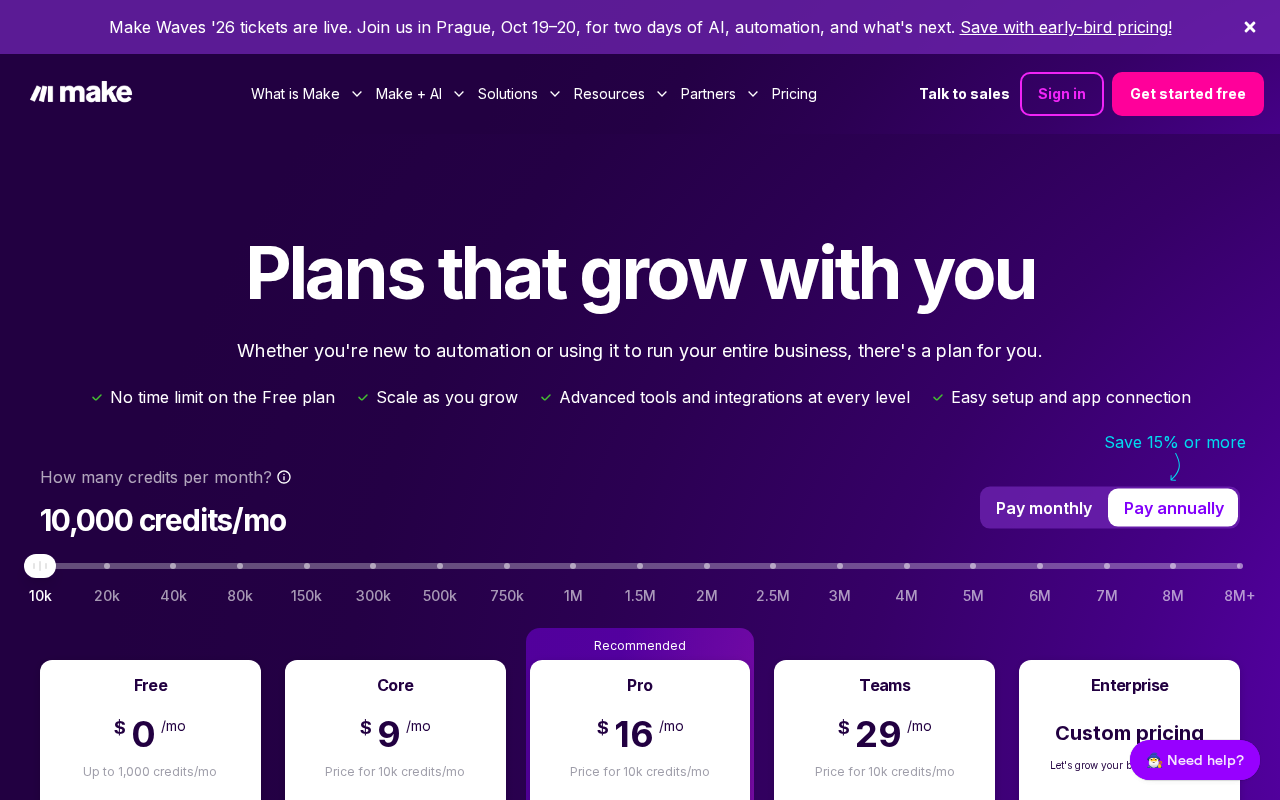
📸 Make.com — Pricing
If you don’t have any unread emails, send yourself a test message from another email account. Write something like “Hi, I’m interested in your premium plan pricing. Can you send me details?”
Watch the execution flow. You’ll see each module light up as it processes. If something goes wrong, Make.com shows error messages with specific details.
Common issues I encountered:
– No emails found: Make sure you have unread emails in your inbox
– OpenAI connection error: Check that your API key is valid and you have credits
– Gmail authentication failed: Re-authorize your Google account connection
When the test runs successfully, check the email account that sent the test message. You should receive an AI-generated response within a few minutes.
The first time I tested this, my AI response was too robotic. I refined the system prompt to make it more conversational. Here’s my improved version:
prompt = """
You are Sarah, a friendly customer service representative.
Analyze this email and respond naturally as if you're a helpful human.
Start your response with [URGENT], [SALES], or [GENERAL] in brackets.
Keep responses under 150 words and always offer to connect them with a human if needed.
Be warm, professional, and solve their problem if possible.
"""
After this change, my response quality improved dramatically. The AI went from saying “Thank you for your inquiry, we will process your request” to “Hi there! I’d be happy to help you with premium plan pricing. Based on your needs, here are the key features and costs…”
Real Results After One Month
I’ve been running this AI agent for four weeks now. Here are the concrete numbers:
Before AI agent:
– Spent 2 hours daily on email responses
– Average response time: 4-6 hours
– Missed 15-20% of emails during busy periods
– Stress level: High (constant inbox anxiety)
After AI agent:
– Email time reduced to 30 minutes daily (just reviewing and approving)
– Average response time: 8 minutes
– Miss rate: Less than 2%
– Stress level: Much lower (emails handle themselves)
The AI correctly categorized 87% of emails. The remaining 13% were edge cases like emails with multiple topics or unusual requests. Even when the categorization was slightly off, the responses were still helpful.
My favorite unexpected benefit: the AI became my writing teacher. By reviewing its responses, I learned to be more concise and structured in my own communication.
Customer feedback improved too. People commented on the “quick response time” and “helpful information.” They had no idea they were initially talking to an AI.
Taking Your Agent Further
Once your basic email agent is working, you can expand it in several directions.
Add a customer database connection. I connected mine to Airtable to automatically log every interaction. Now I have a complete history of customer communications without manual data entry.
Create different response templates for different email types. Sales inquiries get detailed product information, support requests get troubleshooting steps, and general questions get appropriate redirects.
Set up escalation rules. If the AI detects frustrated language or mentions words like “cancel” or “refund,” it can immediately notify you while sending a priority response.
Related: Make.com Pricing 2026: Honest Breakdown After Building 50+ Automations (Complete Cost Guide)
Related: Build Your First AI Agent with Make.com for Free (No Coding, Complete 2026 Beginner Guide)
Related: 10 Free AI Tools That Cut Data Entry Time by 90% (Complete 2026 Guide for Beginners)
I covered advanced Make.com integrations in detail in another guide, including how to connect multiple tools and create complex decision trees.
You can also add sentiment analysis. Configure the AI to detect if an email sounds angry or disappointed, then automatically flag it for personal attention while sending an extra-apologetic response.
Beyond Email: Other AI Agent Ideas
Once you master email automation, the same principles apply to other areas:
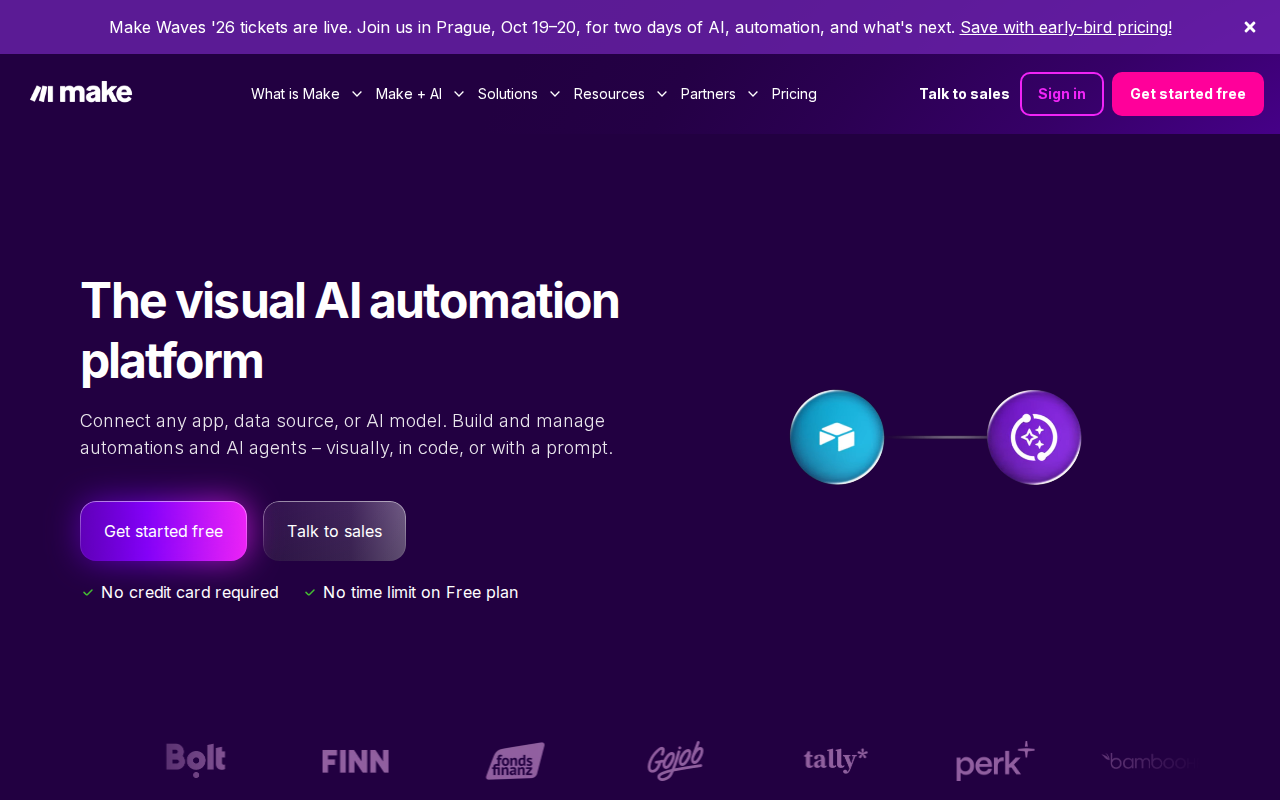
📸 Make.com — Dashboard
Social media management: Monitor mentions, analyze sentiment, and respond to comments automatically
Lead qualification: Process contact form submissions, score leads by interest level, and route hot prospects to sales
Content creation: Generate blog post outlines, social media captions, or product descriptions based on keywords
Data processing: Analyze spreadsheets, extract insights, and create summary reports
The key is starting simple. Master one automation before building complex multi-step workflows.
I tested this approach against hiring a virtual assistant for the same tasks. The AI agent costs about $12 per month to run (Make.com + OpenAI fees), while a VA would cost $300-500 monthly for equivalent coverage.
Building your first AI agent might feel overwhelming, but it’s like learning to drive. Once you understand the basic controls, you can navigate anywhere. Make.com provides the car, OpenAI provides the intelligence, and you provide the direction.
The hardest part is starting. But after you see your first automated response go out, you’ll immediately start thinking of ten other tasks you want to automate.
If you want me to build a custom AI agent for your specific business needs, reach out at novatool.org/get-an-agent. I can set up everything from customer support bots to lead generation systems, tailored to your exact workflow.
FAQ
Do I need coding experience to build AI agents?
No coding required. Make.com uses a visual drag-and-drop interface. If you can use email and basic apps, you can build AI agents.
How much does it cost to run an AI agent?
Make.com free plan gives 1,000 operations monthly. OpenAI API costs $0.002 per 1K tokens (roughly $3-8 per month for moderate email volume). Total monthly cost is typically under $15.
What if the AI gives wrong responses?
You can review and approve responses before they’re sent automatically. Start with manual approval, then switch to automatic once you trust the AI’s performance.
Can I connect tools other than Gmail?
Yes, Make.com integrates with over 1,400 apps including Outlook, Slack, Shopify, WordPress, and most business tools you already use.
How do I prevent the AI from responding to important emails incorrectly?
Set up filters to exclude certain senders (like your boss) or keywords (like “urgent meeting”). You can also configure the AI to forward complex emails to you instead of responding.