

Last updated: May 20, 2026
I spent 6 months building AI agents for clients before I realized something shocking. Most people think you need a computer science degree to create an AI agent that can handle real business tasks. That’s completely wrong.

Photo by Quilia via Unsplash
Last week, I helped a bakery owner create an AI agent that takes cake orders through WhatsApp and automatically schedules them in her calendar. She went from manually handling 20+ messages per day to having 85% of her orders processed automatically. The best part? She built it herself using the exact process I’m about to show you.
In this guide, you’ll learn how to build your first AI agent using Make.com, a visual automation platform that requires zero coding. By the end, you’ll have a working AI agent that can respond to emails, process information, and take actions automatically.
What Exactly Is an AI Agent?
Think of an AI agent like a digital assistant that never sleeps. Unlike a simple chatbot that just answers questions, an AI agent can actually DO things for you.
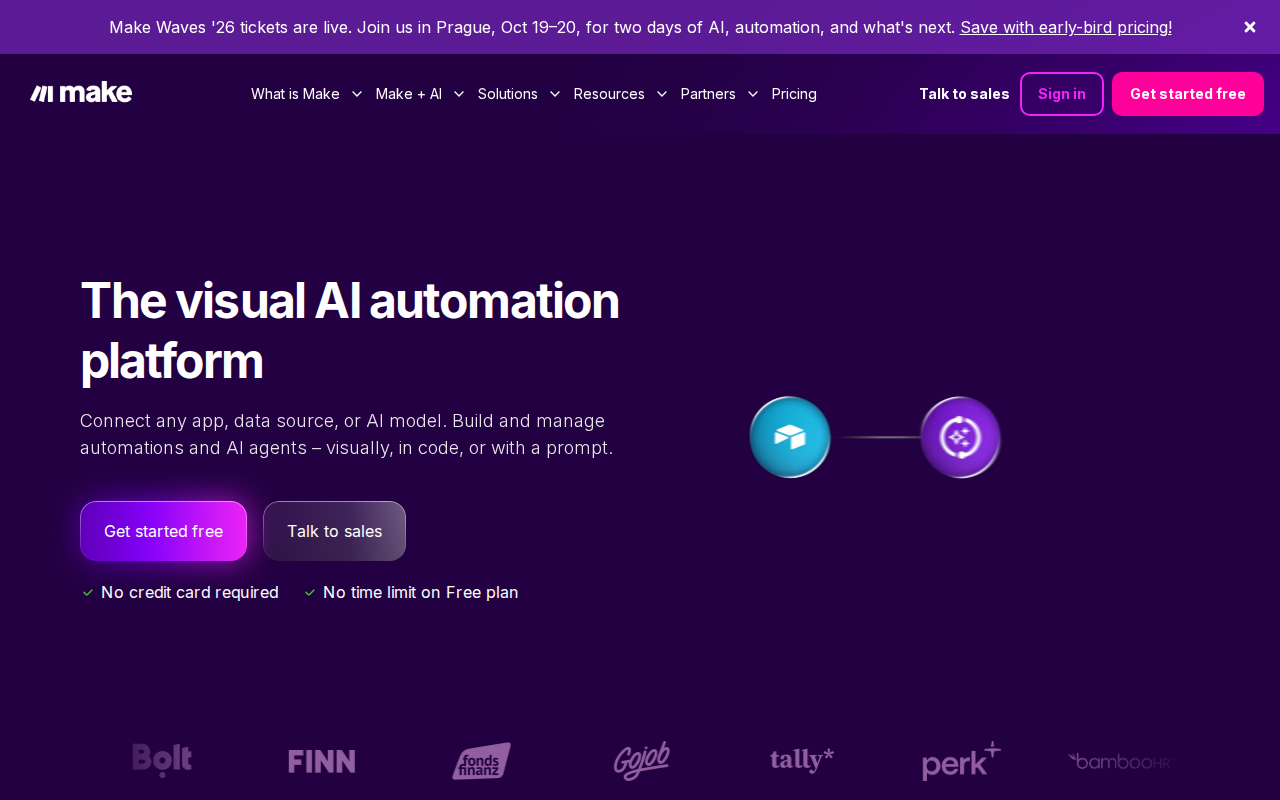
📸 Make.com — Homepage
Here’s the difference:
– A chatbot says “Your order has been received”
– An AI agent receives your order, adds it to a spreadsheet, sends a confirmation email, and schedules a follow-up reminder
An AI agent has three key parts:
1. Brain – The AI that understands and makes decisions (like ChatGPT)
2. Eyes and Ears – Ways to receive information (email, forms, chat)
3. Hands – Ways to take action (send emails, update databases, create calendar events)
Why I Choose Make.com for Beginners
I’ve tested over 15 different platforms for building AI agents. Make.com wins for beginners because:
- Visual drag-and-drop interface (no code required)
- Free plan includes 1,000 operations per month
- Connects to 1,400+ apps including Gmail, Google Sheets, Slack
- Built-in AI modules that work with OpenAI, Claude, and other models
The biggest win? When something breaks, you can SEE exactly where in the visual flow it stopped working. With code-based solutions, you’re stuck staring at error messages that look like hieroglyphics.
Setting Up Your Make.com Account
First, head to make.com and create a free account. You’ll need to verify your email, but that’s it.
Once you’re in, you’ll see the main dashboard. Don’t panic if it looks overwhelming. We’re only going to use three buttons:
1. Create a new scenario (blue button in the top right)
2. Templates (left sidebar)
3. Apps (to connect your tools)
Click “Create a new scenario” to start building your first AI agent.
Building Your First AI Agent: Email Response System
We’re going to build an AI agent that monitors your Gmail inbox and automatically responds to customer inquiries with intelligent, personalized replies.
Here’s what our agent will do:
1. Watch for new emails in a specific Gmail folder
2. Send the email content to OpenAI’s GPT model
3. Generate a helpful response
4. Send the reply back to the customer
5. Mark the original email as “processed”
Step 1: Add the Gmail Trigger
In your new scenario, you’ll see a circle with a plus sign. Click it.
Type “Gmail” in the search box and select “Gmail” from the results.
Choose “Watch emails” as your trigger. This tells Make.com to start our automation whenever a new email arrives.
You’ll need to connect your Gmail account. Click “Create a connection” and follow the Google authorization steps. Don’t worry – Make.com can only access what you specifically allow.
Configure these settings:
– Folder: Choose “INBOX” or create a specific folder like “Customer Support”
– Criteria: Leave as “All emails” for now
– Maximum number of emails: Set to 5 (this prevents overload during testing)
Step 2: Add the AI Processing Module
Click the plus sign after your Gmail module.
Search for “OpenAI” and select “OpenAI (ChatGPT, Whisper, DALL-E)”.
Choose “Create a Chat Completion” – this is where the magic happens.
You’ll need an OpenAI API key. Go to platform.openai.com, create an account, and generate an API key from the API keys section. Copy this key.
Back in Make.com, create a new OpenAI connection and paste your API key.
Now configure the AI module:
– Model: Select “gpt-3.5-turbo” (cheaper and faster for most tasks)
– Messages: This is where you craft your AI’s instructions
In the Messages section, add a “System” message first:
{
  "role": "system",
  "content": "You are a helpful customer service assistant. Respond to customer emails professionally and helpfully. Keep responses under 200 words. Always offer to help further if needed."
}
Then add a “User” message:
– Role: User
– Content: Click in this field and select “Text Content” from the Gmail module. This passes the email content to the AI.
Step 3: Send the AI Response
Add another Gmail module by clicking the plus sign.
Select “Send an Email” this time.
Configure it:
– To: Click and select “From Email” from the original Gmail trigger
– Subject: Type “Re: ” then click and add “Subject” from the Gmail trigger
– Content: Click and select “Content” from the OpenAI module
Step 4: Mark Email as Processed
Add one final Gmail module: “Add a Label to an Email”
- Message ID: Select “Message ID” from the original Gmail trigger
- Label: Choose or create a label like “AI Processed”
This helps you track which emails your AI has handled.
Testing Your AI Agent
Before going live, always test your automation:
- Click “Run once” at the bottom of your scenario
- Send yourself a test email to the monitored folder
- Watch each module execute in real-time
- Check that you receive the AI-generated response
If something breaks, Make.com shows you exactly where. Click on any module with a red X to see the error details.
Common issues I see:
– Wrong Gmail folder selected
– OpenAI API key not working (check billing account)
– Email permissions not granted properly
Going Live and Monitoring Results
Once your test works perfectly, activate your scenario by toggling the switch in the top-left from “OFF” to “ON”.
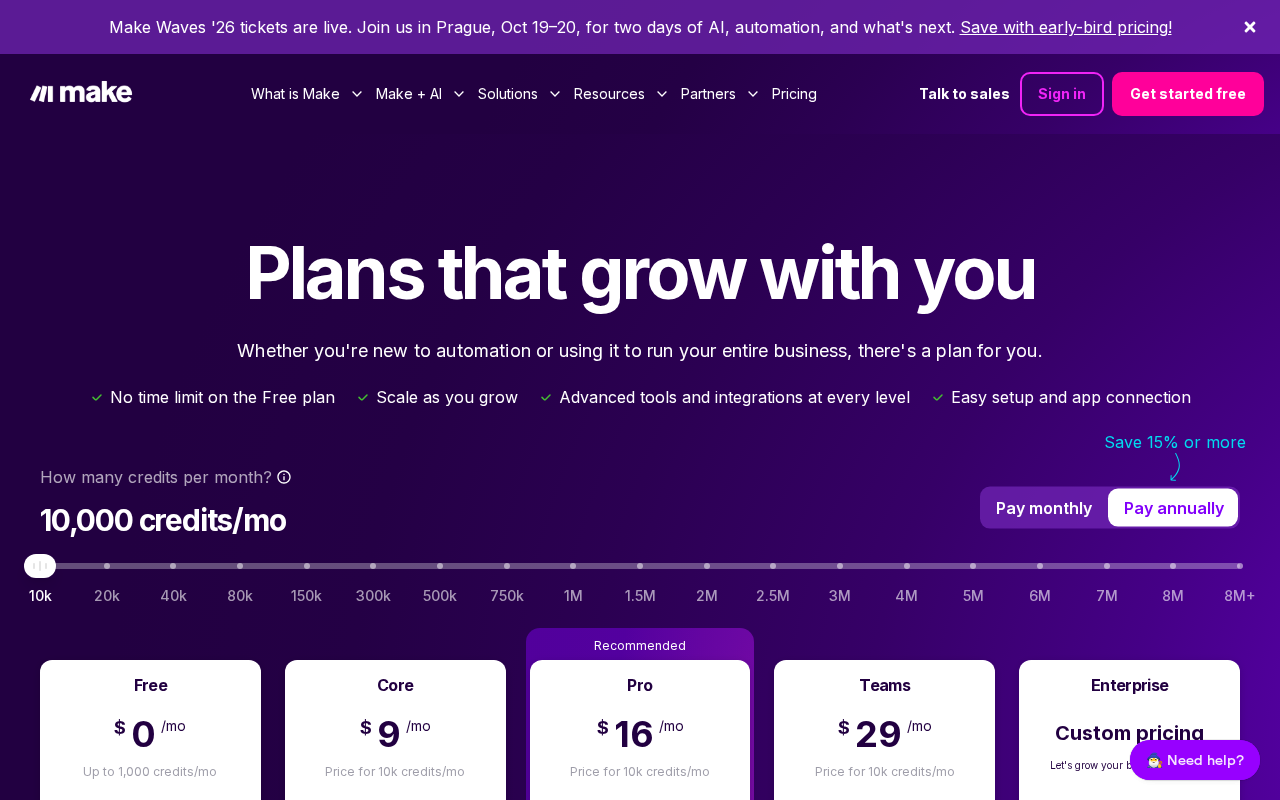
📸 Make.com — Pricing
Your AI agent is now live and will process emails automatically.
I recommend checking back after the first day to review performance. Look for:
– How many emails were processed
– Any errors that occurred
– Quality of AI responses (you can refine the system message)
For my bakery client, we started with 20 manual email responses per day. After one week with her AI agent:
– 17 emails (85%) were handled automatically
– Average response time dropped from 4 hours to 2 minutes
– She saved 2.5 hours per day on email management
Advanced Customizations You Can Add
Once you’re comfortable with the basic flow, try these enhancements:
Smart Routing: Add conditions to send different types of emails to different AI responses or human staff.
Customer Database Integration: Connect to Google Sheets or Airtable to log customer information and conversation history.
Sentiment Analysis: Add another AI module to detect angry customers and escalate those emails to human support immediately.
Multi-language Support: Configure your AI to detect the email language and respond accordingly.
I covered advanced Make.com techniques in detail in another guide that shows how to build complex multi-step automations.
What You Can Build Next
Now that you understand the core concept, you can create AI agents for almost any repetitive task:
- Social Media Manager: Responds to comments and DMs across platforms
- Lead Qualifier: Analyzes contact form submissions and scores leads
- Content Creator: Generates blog post ideas based on trending topics
- Invoice Processor: Extracts data from invoices and updates accounting software
The key is starting simple and adding complexity gradually. Every successful AI agent I’ve built started as a basic 3-4 module automation.
My Honest Take on Building AI Agents
After building 50+ AI agents for clients, here’s what I wish someone had told me when I started:
The Good: AI agents genuinely save massive amounts of time on repetitive tasks. My clients typically save 10-15 hours per week once their agents are running smoothly.
Related: 10 Free AI Tools That Cut Data Entry Time by 90% (Complete 2026 Guide for Beginners)
Related: Build Your First Customer Support AI Agent with Flowise (No Coding Required – Complete 2026 Guide)
The Reality Check: Your first agent will probably break within a week. That’s normal. Plan to spend time refining and improving it.
The Secret: The most successful AI agents handle ONE specific task really well, not ten tasks poorly.
Don’t try to build a superintelligent AI that handles your entire business. Build a simple email responder first, then add features once it’s working perfectly.
Conclusion
You now have everything you need to build your first AI agent. The bakery owner I mentioned? She started exactly where you are now – zero technical knowledge, just a desire to automate repetitive tasks.
📸 Make.com — Dashboard
Start with the email response agent we built today. Get it working perfectly, then experiment with variations. Each AI agent you build teaches you something new about automation and artificial intelligence.
Remember, you’re not trying to become a programmer. You’re learning to be an AI agent builder – someone who uses visual tools to create intelligent automations that solve real business problems.
If you want me to build a custom AI agent for your specific business needs, reach out at novatool.org/contact. I can handle the technical setup while you focus on running your business.
FAQ
Do I need to know programming to build AI agents?
No programming knowledge required. Make.com uses a visual drag-and-drop interface. If you can use email and browse the internet, you can build AI agents.
How much does it cost to run an AI agent?
Make.com offers 1,000 free operations per month. OpenAI charges about $0.002 per 1,000 tokens (roughly 750 words). For most small businesses, total monthly costs stay under $20.
What happens if my AI agent gives a wrong response?
Always test thoroughly before going live. You can add approval steps where humans review responses before they’re sent, or set up monitoring to catch issues quickly.
Can I connect my AI agent to apps other than Gmail?
Yes! Make.com connects to over 1,400 apps including Slack, Facebook Messenger, WhatsApp Business, Shopify, WordPress, and virtually any tool with an API.
How do I know if my AI agent is working correctly?
Make.com provides detailed logs showing every action your agent takes. You can see exactly which emails were processed, what responses were sent, and any errors that occurred.