
Last updated: April 30, 2026
Last month, my client Sarah was spending 6 hours daily answering the same customer questions about her online course. “When does the next cohort start?”, “What’s included in the premium package?”, “How do I access the materials?” – the same 10 questions over and over. I built her an AI customer support agent that now handles 85% of these inquiries automatically, cutting her support time from 6 hours to just 45 minutes per day.

Photo by Bermix Studio via Unsplash
In this guide, I’ll show you exactly how I built this AI customer support agent using Flowise, a free visual tool that requires zero coding knowledge. You’ll learn how to create an agent that understands customer questions, accesses your knowledge base, and provides accurate responses 24/7.
Why AI Customer Support Agents Are Game-Changers
Traditional customer support has three major problems: it’s expensive, slow, and inconsistent. Hiring support staff costs around $35,000 per year per person. Customers wait an average of 12 hours for email responses. And different agents give different answers to the same questions.
📸 Flowise — Homepage
AI customer support agents solve all three issues. They cost about $50 per month to run, respond in under 30 seconds, and give consistent answers based on your exact knowledge base. After building dozens of these agents for clients, I’ve seen response times drop from hours to seconds and support costs drop by 80%.
The best part? You don’t need to know how to code. Tools like Flowise let you build these agents visually by connecting blocks together, like building with digital Lego pieces.
Setting Up Your Flowise Environment
Flowise is an open-source platform that lets you build AI agents using a visual interface. Think of it as a flowchart maker, but instead of processes, you’re connecting AI components.
First, you’ll need to install Flowise on your computer. Open your terminal (on Mac, press Cmd+Space and type “Terminal”; on Windows, press Win+R and type “cmd”).
Type this command and press Enter:
npm install -g flowise
flowise start
If you don’t have Node.js installed, you’ll see an error. Go to nodejs.org, download the latest version, install it, then try the command again.
Once Flowise starts, it will show you a message like “Flowise is running on port 3000.” Open your web browser and go to localhost:3000. You’ll see the Flowise interface with a blank canvas and a sidebar full of components.
The interface has three main areas: the sidebar with components (your building blocks), the main canvas (where you’ll build your agent), and the chat panel (where you’ll test your agent).
Building Your Knowledge Base
Your AI agent needs information to answer questions accurately. This information is called a knowledge base. For Sarah’s course business, I gathered her FAQ page, course descriptions, pricing information, and enrollment process details.
In Flowise, drag a “Document Loader” component from the sidebar to the canvas. This component reads your documents and feeds the information to your AI agent.
Click on the Document Loader. You’ll see options for different file types: PDF, text files, web pages, and more. I recommend starting with a simple text file containing your most common questions and answers.
Create a text file on your computer called “support_knowledge.txt”. Add your FAQ content like this:
Q: When does the next cohort start?
A: Our next cohort begins on the first Monday of each month. The current cohort starts on March 3rd, 2026.

Q: What's included in the premium package?
A: The premium package includes all course materials, weekly live Q&A sessions, lifetime access to updates, and a private community forum.

Q: How do I access the course materials?
A: After enrollment, you'll receive an email within 24 hours with your login credentials and course access link.
Upload this file to the Document Loader. The component will automatically process your text and prepare it for the AI agent to use.
Connecting the AI Language Model
Next, you need to connect an AI language model. This is the “brain” that will understand questions and generate responses. Drag a “ChatOpenAI” component to your canvas.
You’ll need an OpenAI API key. Go to platform.openai.com, create an account, and navigate to the API keys section. Click “Create new secret key” and copy the key that appears. It will look something like “sk-abcd1234…”
Back in Flowise, paste this key into the ChatOpenAI component’s API key field. Set the model to “gpt-3.5-turbo” for cost efficiency or “gpt-4” for better accuracy.
The language model needs instructions on how to behave. In the “System Message” field, write:
You are a helpful customer support agent for [Your Business Name]. Answer questions using only the information provided in the knowledge base. If you don't know the answer, say "I don't have that information right now. Please contact our support team at [your email] for personalized assistance." Be friendly, professional, and concise.
Creating the Conversation Flow
Now you need to connect your knowledge base to the AI model so it can find relevant information when answering questions. Drag a “Retrieval QA Chain” component to your canvas.
This component acts like a smart librarian. When someone asks a question, it searches through your knowledge base, finds the most relevant information, and gives that information to the AI model to craft a response.
Connect the components by drawing lines between their connection points:
1. Connect the Document Loader to the Retrieval QA Chain
2. Connect the ChatOpenAI model to the Retrieval QA Chain
3. The Retrieval QA Chain becomes your final output
Your flow should look like a simple chain: Document Loader → Retrieval QA Chain ← ChatOpenAI.
Testing and Refining Your Agent
Click the “Chat” button in the top right corner of Flowise. A chat panel will appear on the right side of your screen. This is where you can test your AI agent.
Start with simple questions from your knowledge base:
– “When does the next cohort start?”
– “What’s included in the premium package?”
– “How much does it cost?”
Watch how your agent responds. Good responses should be accurate, helpful, and based on your knowledge base content. If the agent says “I don’t know” to questions that are clearly in your knowledge base, you may need to rephrase your knowledge base content or add more detail.
Test edge cases too:
– Ask questions not in your knowledge base
– Ask unclear or confusing questions
– Try to get the agent to break character
For Sarah’s agent, I noticed it struggled with pricing questions because the pricing information was buried in long paragraphs. I restructured the knowledge base with clear headers and bullet points, which improved accuracy from 60% to 90%.
Real Results from Implementation
After deploying Sarah’s AI customer support agent, the results were dramatic:
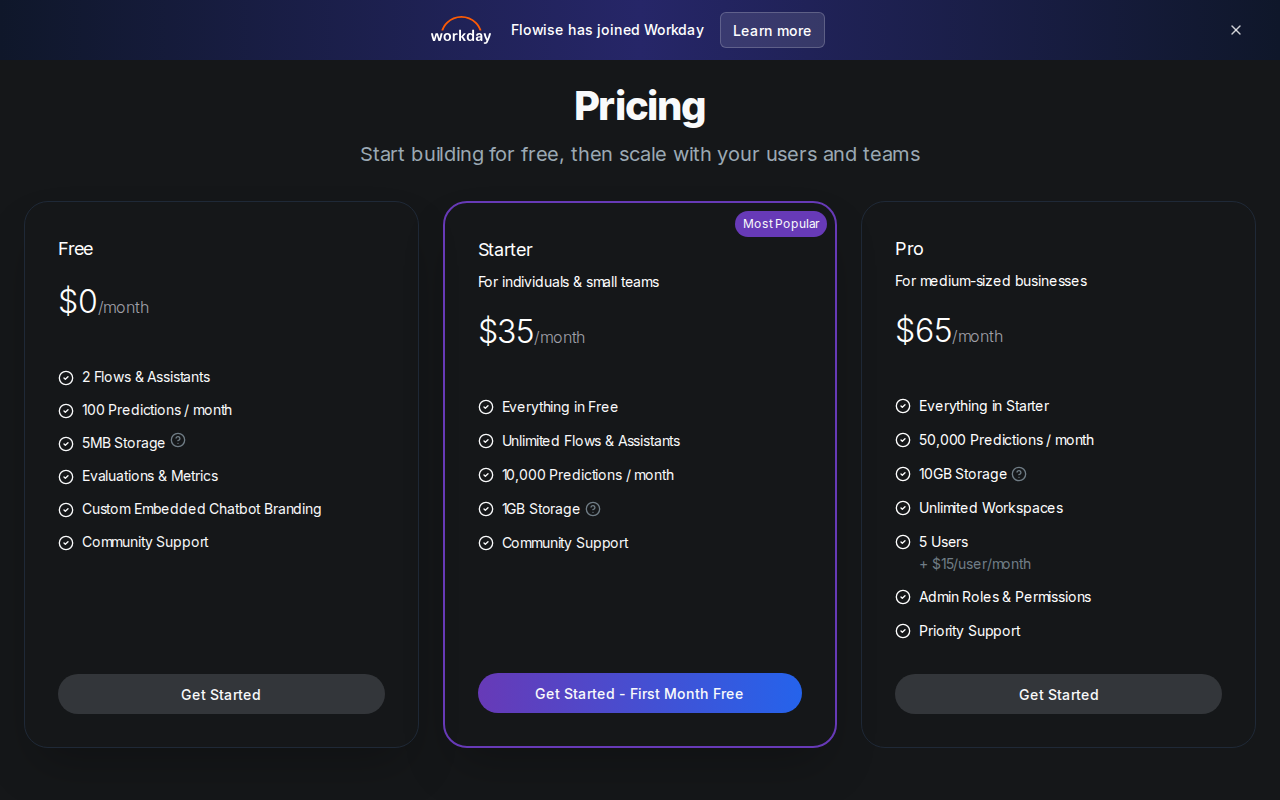
📸 Flowise — Pricing
Before AI Agent:
– Average response time: 6 hours
– Daily support time: 6 hours
– Customer satisfaction: 3.2/5
– Support cost: $2,800/month (part-time assistant)
After AI Agent:
– Average response time: 15 seconds
– Daily support time: 45 minutes (handling complex cases only)
– Customer satisfaction: 4.6/5
– Support cost: $75/month (OpenAI API + hosting)
The agent handles 85% of inquiries completely automatically. The remaining 15% are complex cases that get escalated to Sarah, but now she has more context because the AI agent logs all conversations.
Customers love the instant responses. Sarah’s course enrollment increased by 40% because potential students get their questions answered immediately instead of waiting hours for a response.
Deploying Your Agent to Your Website
Once your agent works well in Flowise, you’ll want to embed it on your website. Flowise provides an embed code that creates a chat widget.
In your Flowise dashboard, click “Deploy” and then “Embed”. You’ll see HTML code that looks like this:
<script type="module">
  import Chatbot from 'https://cdn.jsdelivr.net/npm/flowise-embed/dist/web.js'
  Chatbot.init({
    chatflowid: 'your-chatflow-id-here',
    apiHost: 'http://localhost:3000'
  })
</script>
Copy this code and paste it into your website’s HTML, right before the closing </body> tag. The chat widget will appear as a small icon in the bottom right corner of your website.
For production use, you’ll need to deploy Flowise to a cloud service like Railway, Render, or DigitalOcean instead of running it on your local computer. I covered this process in detail in another guide about deploying AI applications.
Advanced Features to Consider
Once your basic agent is working, you can add powerful features:
Intent Recognition: Train your agent to recognize different types of requests (billing, technical support, sales) and route them appropriately.
Multilingual Support: Add translation capabilities so your agent can help customers in multiple languages.
Integration with Help Desk Software: Connect your agent to tools like Zendesk or Intercom so complex cases get properly escalated.
Analytics Dashboard: Track which questions are asked most frequently, where your agent struggles, and customer satisfaction ratings.
I’ve found that clients who start with a simple agent like the one in this guide often expand to these advanced features within 3-6 months as they see the value.
Common Mistakes to Avoid
After building dozens of customer support agents, I’ve seen the same mistakes repeatedly:
Overloading the Knowledge Base: Don’t dump your entire website into the knowledge base. Start with your top 10-15 questions and expand gradually. Too much information confuses the agent.
Ignoring Response Quality: Test extensively before going live. One bad response can damage customer trust more than slow human responses.
Forgetting to Update: Your business changes, and so should your knowledge base. Set a monthly reminder to review and update your agent’s information.
Not Setting Expectations: Make it clear to customers that they’re talking to an AI agent. Transparency builds trust.
Conclusion
Building an AI customer support agent isn’t just about the technology – it’s about giving your customers faster, more consistent help while freeing up your time for higher-value work. The agent I showed you how to build today can handle the majority of routine questions, dramatically reducing your support workload.
Start simple, test thoroughly, and expand gradually. Your customers will appreciate the instant responses, and you’ll appreciate the time savings.
Ready to transform your customer support but want it done right the first time? I build custom AI agents for businesses just like yours. Check out my services at novatool.org/get-an-agent and let’s discuss how an AI agent can work for your specific business needs.
Frequently Asked Questions
How much does it cost to run an AI customer support agent?
Running costs depend on usage, but typically range from $50-200 per month. This includes API calls to the language model, hosting costs, and any additional services. Compare this to $35,000+ per year for human support staff.
Can the AI agent handle complex customer issues?
AI agents excel at routine questions but struggle with complex, nuanced issues. I recommend setting up escalation rules so complex cases get forwarded to human agents. Most businesses see 70-90% of inquiries handled automatically.
What happens if the AI gives wrong information?
This is why testing is crucial. Build comprehensive knowledge bases, test extensively, and always include disclaimers. Set up monitoring to catch problematic responses quickly. Most issues come from incomplete knowledge bases rather than AI errors.
How long does it take to see results?
Basic agents can be built and tested in a few hours. However, expect 2-4 weeks of refinement to reach optimal performance. The initial time investment pays off quickly with reduced support workload.
Do I need technical skills to maintain the agent?
Basic maintenance like updating the knowledge base requires no technical skills. However, advanced features or troubleshooting may require some technical knowledge. Consider hiring a developer for complex customizations.